Ruby’s Outstanding Salsa

Canned tomatoes
Homemade salsa, to me, is better than anything you can get in a store.

What’s my favorite salsa? Mom’s. No, that isn’t a brand; it’s my mom’s homemade salsa. Once I learned how to make and preserve her recipe, I rarely bought grocery store salsa. And then, it was only when I ran out.

With homemade, you can adjust it to suit your taste. I like mine mild with just a tiny kick, but you may prefer yours with more heat. Simply adjust the amount of peppers to tailor the recipe to you and your family’s tastes.

If you have never canned before, please visit the website for the National Center for Home Food Preservation and learn how to do so safely.

Ingredients

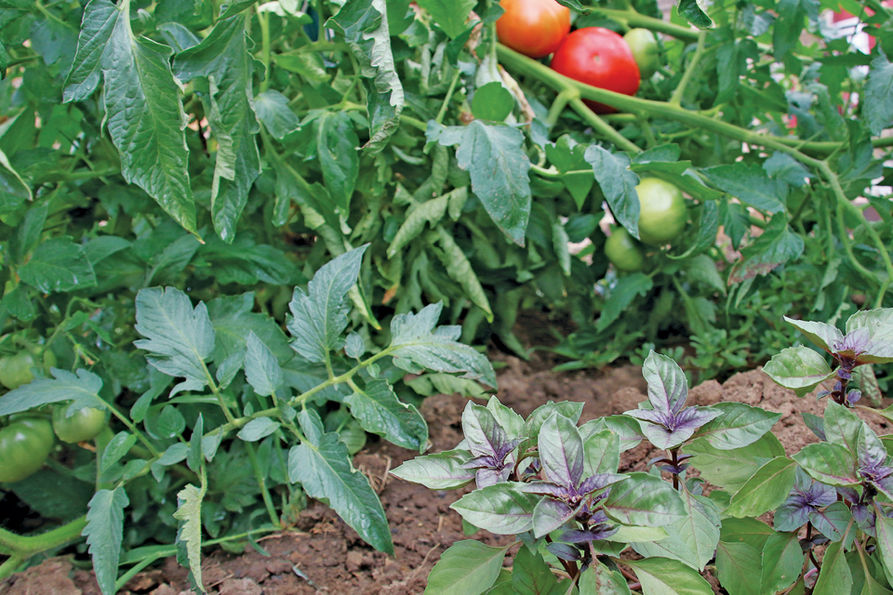
1/2 bushel tomatoes, blanched, peeled, cored, and quartered

4 large onions, chopped

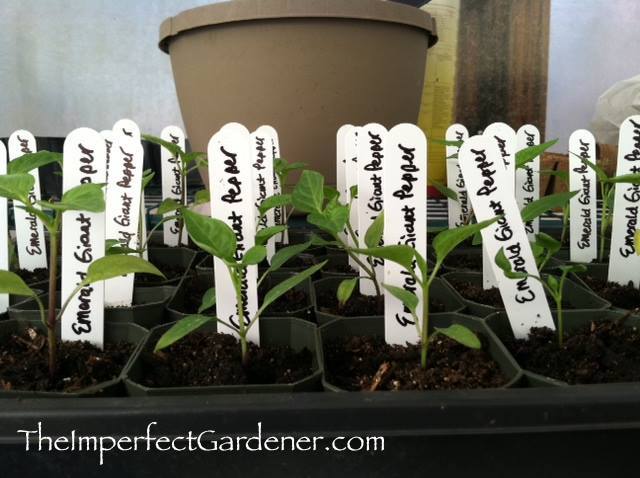
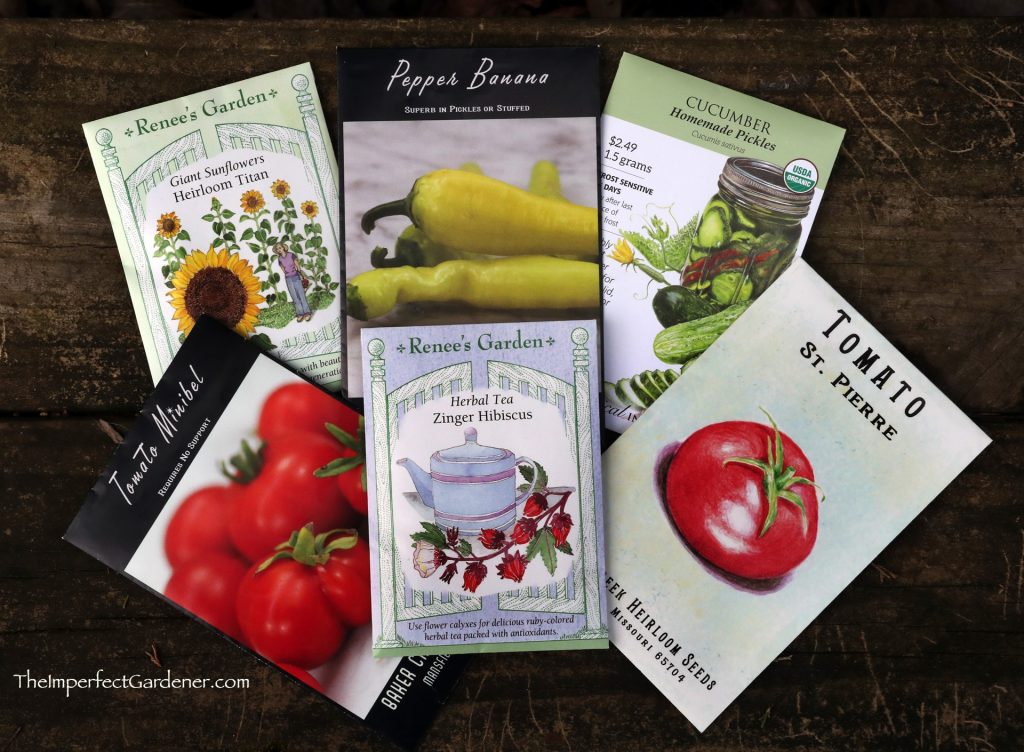
2 bell peppers, chopped

2 small cans green chilis, diced

10 hot peppers (banana peppers for milder sauce; Anaheim or other hot peppers for more heat)

4-7 jalapeno peppers (If you prefer to use canned jalapenos, use one small can for milder salsa, two cans for medium heat)

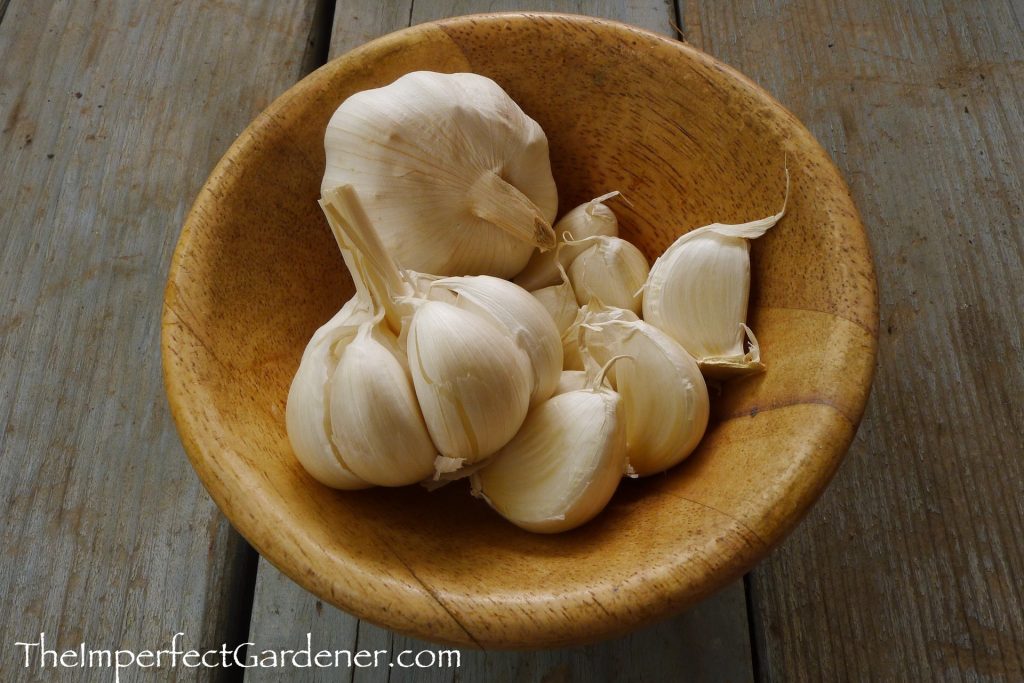
2 cloves garlic, chopped

1 cup white vinegar (5% acidity)

5 Tbsp. canning salt (not table salt; it MUST be canning salt)

2 small cans tomato paste (stirred well into mixture)

Several sprigs of fresh cilantro

Directions

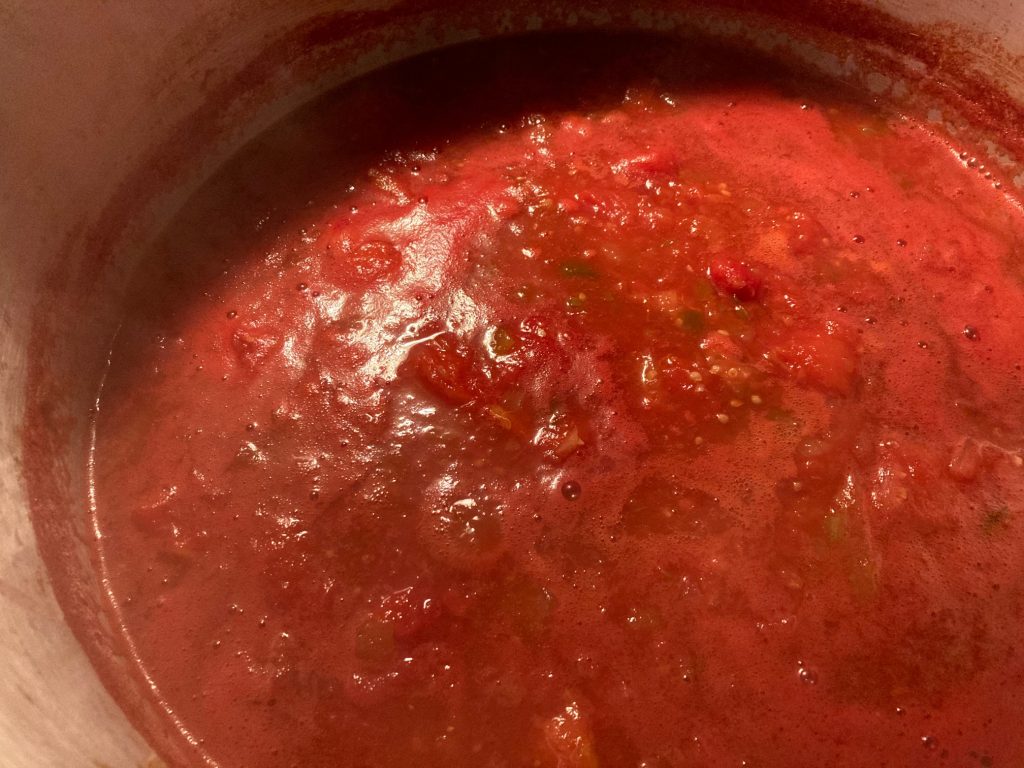
Chop all ingredients and put into a very large pot. Bring to a boil and turn heat down to a very soft boil, just bubbling lightly.

Stir frequently, and by that, I mean every few minutes. It sticks and burns on the bottom of the pot if you don’t.

Cook about 2 1/2–3 hours, based on the consistency you want. If it doesn’t seem to get as thick as you would like, mix 2 Tbsp. of cornstarch with a little bit of water and stir it into the salsa to thicken it. Stir some more.

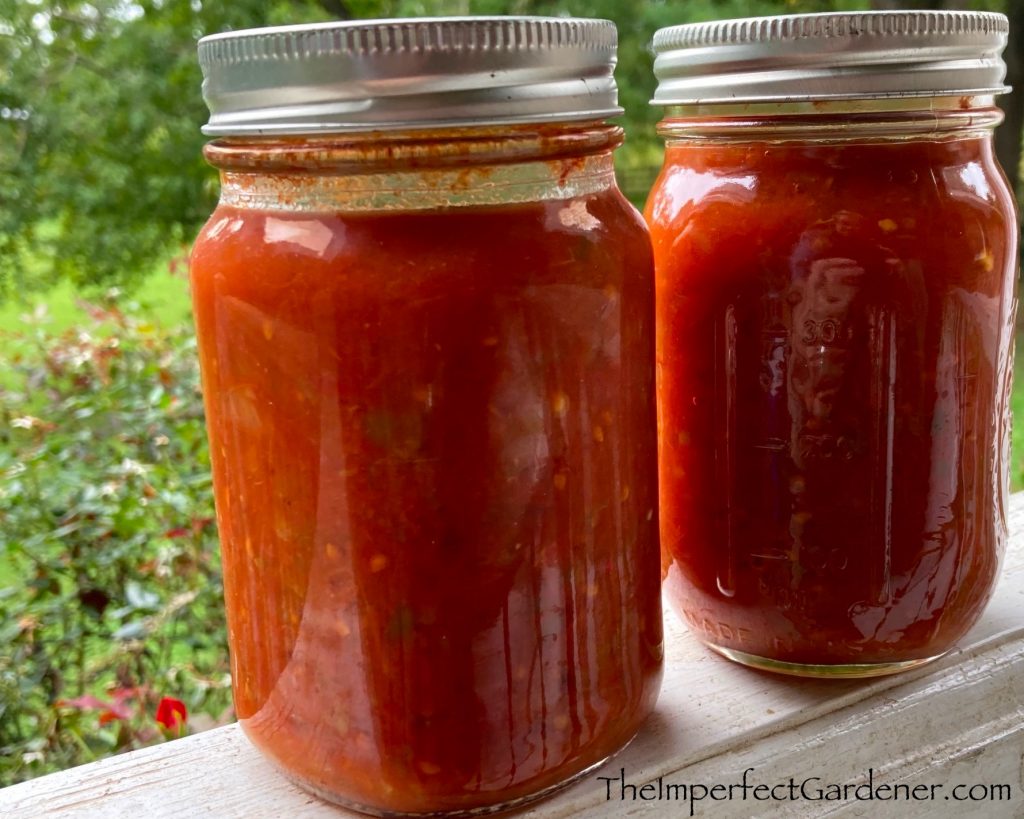
Put salsa into pint jars, seal with new lids and put in a water bath. The amount of time they’re in the water bath depends on the altitude at which you live, as you’ll discover when you learn to can.

And that’s it. Once you customize this recipe to fit your taste, you, too, will never again want to buy salsa from a grocery store. You can thank my mom!

Tips

A few tips can make the process go a little smoother:

• Use a food processor for all the chopping and dicing. I’ve used a knife and I’ve used a food processor, and the food processor wins, hands down.

• Chop up the ingredients the night before, cover, and put in the refrigerator. It will save tons of time on salsa-making day.

• Stir the salsa. Have I said that enough? One more time: stir the salsa.

This salsa has been stirred and stirred and stirred again!

Companion planting helps your garden thrive

Photo: West Virginia University Extension Service

Plant basil near your tomatoes and they’ll not only taste richer, but basil will repel tomato worms. Plant radishes near spinach and they’ll attract the destructive leafminer to their  greenery and away from the spinach.

Positive influence

Arranging your garden so that certain plants can benefit others when they’re planted together is called companion planting, which maximizes space while controlling pests and creating healthy soil.

Certain plants have a positive influence on their neighboring plants by repelling each other’s pests, feeding the soil or protecting them from the sun. They must, however, have similar soil, nutrient and water needs.

For example, peas, beans and clover produce usable nitrogen, which helps feed their neighbors. Carrots and leeks, when planted together, repel each other’s pets. And strong-smelling vegetables and herbs, such as onions, chives and garlic provide a good disguise to protect greens from pests that locate their food by smell.

Negative influence

Conversely, some plant combinations don’t work as well because their chemical makeup may inhibit the other’s growth or their root systems may compete for moisture or nutrients.

For example, keep corn and tomatoes apart because corn attracts a worm that also feasts on tomatoes; dill will stunt carrots’ growth; and beans won’t do well near any member of the onion family, such as garlic, chives or shallots.

Fertilizing your seedlings

Don’t forget to fertilize your seedlings.

By now, if you’ve started some seeds inside, your seedlings have popped up and are growing every day. It won’t be long until you’ll need to provide them with some extra nutrients to stay healthy and thriving.

If you used a commercial seed-starting mix to start your seeds, that soil-less mix creates ideal germinating and growing conditions for seedlings by keeping them moist and preventing the soil from compacting. However, those mixes generally contain no nutrients. They don’t need to. Each seed contains all the nutrients it needs to germinate, grow, and produce its first set of leaves.

When the tiny plant sprouts its second set of leaves — called “true leaves” — then it’s time to start providing some nutrients.

Treat them tenderly

Your seedlings are tender, so you don’t want to feed them with a full-strength fertilizer, which will burn their tiny roots. Instead, dilute a liquid, water-soluble fertilizer to half strength and water with that once a week to give them the nutrients they need to continue to grow.  Continue this for a month or so, and then feed them every 10 days or so with fertilizer at regular strength.

Choose the right mulch

I use straw to mulch my vegetable garden.

A remarkable treatment for your vegetable garden can keep weeds to a minimum, maintain moisture, enrich the soil, and increase your harvest by up 50 percent — and it’s usually free and abundant.

Mulch is a term for ground covering around plants. Mulch can be organic (leaves, straw, compost, grass clippings, newspaper, bark, etc.), inorganic (rocks, perlite, vermiculite), or synthetic (black or clear plastic, woven weed barrier).

The mulch that is best for your vegetable garden depends on your soil type, your crops, your climate, and what you want the mulch to do.

Organic mulch

Organic mulch retains moisture and cools the soil temperature by about 20 degrees, so it’s ideal for cool-weather vegetables, such as lettuce, cabbage, and kale. In very moist climates, however, organic mulches may hold too much moisture.

If your garden contains clay or other poor soils that form a crust after rain, organic mulch will improve it, making it more crumbly. Organic mulch also continues to feed the soil long after the growing season ends. After your garden is harvested in the fall, till or work the mulch into the soil, where it will decay and enrich the soil, creating a better growing medium for your plants next spring.

Inorganic and synthetic mulch

Inorganic and synthetic mulches are superior in keeping weeds down and retaining soil moisture, plus they don’t harbor weed seeds, like straw or grass might. Plastic, however, inhibits rain from absorbing into the soil.

If you mulch with plastic, perforate it to allow air circulation and water into the soil. If you choose not to perforate the plastic, then either cut holes around plants large enough to allow for aeration and water movement at the base of the plants or keep bare walkways between rows free from plastic to allow water a place to absorb into the ground. Another option is the woven weed barrier, which typically is used in landscaping. It allows water and oxygen into the soil while deterring most weed growth.

Store-bought mulches

Not all mulches are home grown. You can buy mulch — organic, inorganic, and synthetic — by the bag at your local garden center, or by the truckload at nurseries. These are the most commonly found for sale:

Bark — Available in fine, medium, and large sizes; most gardeners recommend medium and large. Heavier barks won’t float in downpours. Unlike other organic mulches, don’t work bark into the soil at the end of the growing season because its high-carbon content can create a nitrogen deficiency due to carbon-to-nitrogen imbalance.

Peat moss — Finer-textured types dry out and are difficult to wet. Choose chunky peat, instead.

Pine needles — Preferred by acid-soil plants, such as strawberries, but they can be used anywhere. They allow for good aeration, but can be a fire hazard.

Perlite, vermiculite — Perlite, which is volcanic ash, and vermiculite, a mineral that resembles mica, are extremely porous. They are also very lightweight and are easily blown or washed away.

Fight pandemic food fears by growing a garden

Perhaps you’re turning, or returning, to gardening as a way to ease concerns over food security as coronavirus slows harvests and affects food distribution. You’re not alone; so many people are gardening this spring that seed companies have struggled to keep up with demand for vegetable and fruit seeds.

Keep it simple

If you’re just starting out, or haven’t gardened in a while, keep your garden simple and workable. A too-large garden can easily overwhelm you and become a discouraging chore, and that’s when you’re more likely to give up on it. Instead, keep it manageable so you don’t have to spend too much time and effort on it.

Adjust to your needs

Start off with a garden measuring about 10×18 feet with eight to 10 different vegetable varieties. This size will easily feed a family of four to six. This is simply a guideline, however. Adjust your garden spot to fit your particular situation: family size, available space, amount of time you can spend in it, and the amount of work you’re willing to do.

Prepare for success

Keep it weeded, because weeds aggressively compete with your plants for water and nutrients in the soil, and make sure your plants get enough water. When harvest time comes, you’ll be amazed at your success — and the good food you put on your table.

I’ve created this simple garden plan to help get you started.

Garden plan
Use this plan to get started and adjust to your needs.

My 7 New Year’s gardening resolutions

A brand new year is an inspiring time to take an appraisal of the past year and figure out how you can do better this year. I like to do that for my gardening, so here are my seven New Year’s gardening resolutions:

1. Add raised beds to my garden spot

Raised garden bed

I have a large garden spot, and the soil is pretty good, but adding a few raised beds will allow me to more carefully control growing elements from soil quality to drainage to weed control and everything else necessary to produce quality plants and vegetables. And they look good, too.

2. Control my seed-starting

Tomato seedlings

I love starting seeds. In fact, I love starting seeds more than harvesting vegetables! So each spring when I go into my greenhouse, I tend to plant way more seeds than I will ever need. Even after giving away as many as I can and planting as many as my garden will allow, I still have leftovers which, unfortunately, end up in the compost pile. This year, I resolve to limit my seed-starting to a manageable amount. Besides saving money on seeds and seed-starting soil, I’ll have the satisfaction of making sure each little seedling actually gets planted.

3. Get in front of the weeding

Weeding tools

I ask the same question every year: why do the weeds grow so much faster than my garden plants? Take a day or two off from weeding and they take over the garden. This year, I vow to stay ahead of the game and chop them before they ever get a foothold in my garden.

4. Plant something I’ve never tried before

Renee’s Gardens Zinger Hibiscus

We all have our favorite standbys. Mine are tomatoes, peppers, cucumbers, and squash. But this year, I plan to add something different to my garden. Maybe onions or leeks. Perhaps beets. I’m an herbal tea drinker, so I think I’ll try Zinger Hibiscus from Renee’s Garden this year. The point is, it’s a good idea to grow your gardening abilities by trying new things.

5. Start worm farming again

Earthworm

Earthworms are so good for your soil, it’s a wonder that every gardener doesn’t have a worm farm! Worm castings – or worm poo – is some of the richest organic fertilizer you’ll find and it’s easy and free to produce. I had a worm farm several years ago before eventually freeing all the earthworms into my garden. It’s time to get one started again.

6. Be more faithful about composting

Compost pile

Simply toss kitchen scraps and yard material – grass, leaves, plants – into a pile and you’ll eventually have a crumbly, dark, nutrient-rich material that gardeners call “black gold” for good reason: it contains nutrients beneficial to plants, helps soil retain those nutrients, increases soil’s water capacity, and attracts valuable earthworms to your garden. I compost, but sometimes it’s more convenient to toss kitchen scraps into the garbage can. Not this year. If it can compost, it goes into the pile.

7. Get in front of the weeding

Weeding tools

Did I mention this already?

How to plant garlic

Growing your own garlic is easy.

In the fall and early winter, when days grow shorter and cooler and the first frost approaches, it’s time to plant garlic.

Hard-neck vs. soft-neck garlic

Though garlic comes in dozens of varieties, there are two main types of garlic: hard-neck and soft-neck. The garlic you find in the grocery store usually is soft-neck garlic, which tends to be milder in taste than the hard-neck, which has a more robust, garlic flavor.

However, most U.S. gardeners will need to grow hard-neck varieties, which thrive in areas with severe winters. Soft-neck garlic grows well only in arid climates where winters are mild. Before ordering garlic to plant, find out from area gardeners or from your local agricultural extension service which garlic is best suited to grow in your region.

Planting garlic

Unless your soil is very well drained, you’ll want to plant your garlic seed in a raised bed so water drains out. Otherwise, roots will rot. Remember, however, that raised beds require close monitoring because soil can dry out quickly.

Before planting, have the soil tested by a local extension agent. Garlic grows best in soil with a pH of 7. Once the soil is right, plant the garlic cloves pointy side up 2-3 inches deep and about 7 inches apart. Rows should be 12-13 inches apart.

Tending the garlic garden

As the weather turns cold, mulch with 2 inches of chopped leaves. This not only keeps light from getting through to the plants, but it helps suppress weeds. The garlic shoot will emerge from the mulch in spring.

When the plants are 6 to 8 inches high, apply a 7-2-4 fertilizer — I prefer that in an organic fertilizer — very liberally. You’ll get a bigger plant with a better bulb.

The plant will continue growing and in early summer a flower stalk called a scape will appear. Many garlic growers cut off the scapes by hand to encourage the plant to focus its growing energy on developing the bulb rather than the flower.

Harvest time

As the plant grows, the leaves begin to turn brown from the bottom up. More leaves will die as harvest time approaches. When four to five green leaves remain on the plant — usually from late June to late July — it’s time to harvest the garlic.

You can eat it immediately or store it for later use. Garlic keeps longest when stored at 60-65 degrees in moderate humidity.

Enrich your soil with a compost pile

When you want to enrich your garden soil, but you avoid commercial, chemical fertilizers, the natural solution can be found right at home with a compost pile. Fed kitchen scraps and yard litter, your compost pile will yield a crumbly, dark, nutrient-rich material that gardeners call “black gold” for good reason: it contains nutrients beneficial to plants, helps soil retain those nutrients, increases soil’s water capacity, and attracts valuable earthworms to your garden.

A compost pile’s bacteria and other microorganisms generate heat when they digest organic material and turn it into compost. You may choose to let nature do all the work with a slow-acting “cold” compost pile or you can hurry the process along by creating a more labor-intensive “hot” compost pile.

If you opt for the hot method, start by planning for a large pile, because it holds heat better than a small one. Your best option is a pile about 4 or 5 feet wide, long, and high.

Combining kitchen scraps and yard litter creates rich compost.

Greens and browns

Organic matter consists of large amounts of carbon and smaller amounts of nitrogen. Organic matter in your compost bin will break down more quickly if you mix a ratio of 25 to 30 parts carbon to 1 part nitrogen. Carbon is the “brown” dead stuff such as autumn leaves, straw, newspaper, and cornstalks; nitrogen is the fresh “green” stuff such as grass clippings, weeds and other plants, and kitchen vegetable scraps.

Some gardeners prefer to alternate their green and brown organic matter in layers measuring 2-4 inches thick, but others find that mixing the two together is more effective. It all gets mixed up when you turn it, anyway.

Chop or shred materials before you add them to the compost pile so they’ll decompose faster. Some gardeners recommend that they be no larger than an inch in diameter.

Turn up the heat

Use a compost thermometer — those with a long probe are preferable — to monitor the pile’s temperature. It should reach from 130-170 degrees in just a few days. When you notice the internal temperature dropping, turn the pile, moving inside material out and outside material in.

Turning the pile frequently allows more oxygen to the microorganisms that are creating your compost, which in turn accelerates decomposition. Aerating it every couple of days will create compost faster than aerating it weekly. If this is too labor-intensive, simply toss your kitchen scraps and yard litter onto the pile and forget about it; it eventually will break down into rich compost.

If you want your compost pile to speed up even faster, commercial accelerants, which contain concentrated amounts of microorganisms already in your compost pile, are available in both organic and non-organic formulas. Or you can try home solutions, such as fresh grass cuttings, coffee grounds, aged livestock manure, beer, or rabbit food pellets. These are nitrogen-rich and will jump-start a lagging compost pile.

Watch the water

Water the pile in dry weather to keep it damp, but not soggy.  Too much water depletes oxygen for the material-munching microorganisms and creates unpleasant odors.

Cover the pile with a plastic tarp. This keeps moisture in during dry weather and excessive water out during rainy weather. Be sure to check the pile regularly to make sure it’s moist enough and aerated correctly.    

Discovering ‘black gold’

After several weeks, your hot compost pile will produce “black gold” for your soil; after several months, your cold compost pile will produce the same results. Either method you choose, your soil will be all the richer for it.


What to do with that zucchini?

You can do much more with zucchini than just cooking it.

You’ve heard the old joke — the danger of leaving your car windows down in summer isn’t that your car will get stolen; it’s that someone might leave zucchini in it.

Gardeners know that they can’t possibly use all of their abundant harvest so they give away lots of it. These recipes, provided on request from Ruby Davis, offer a couple of tasty solutions to those spare squash.

Zucchini Chocolate Chip Cookies

1 egg, beaten

½ cup butter, softened

½ cup brown sugar

1/3 cup honey

1 Tbsp. vanilla extract

1 cup white flour

1 cup whole wheat flour

½ tsp. baking soda

¼ tsp. salt

¼ tsp. cinnamon

¼ tsp. nutmeg

1 cup finely shredded zucchini

12 ounces chocolate chips

Directions:

1. In a large bowl, combine egg, butter, brown sugar, honey and vanilla and mix. Set aside.

2. In a separate bowl, combine white flour, whole wheat flour, baking soda, salt, cinnamon and nutmeg. Mix well and blend into the liquid mixture.

3. Add zucchini and chocolate chips and mix well.

4. Drop by spoonful onto a greased baking sheet and flatten with the back of a spoon.

5. Bake 10-15 minutes at 350 degrees.

Makes about four dozen.

Lemony zucchini bread

4 cups flour

1½ cups sugar

1 pkg. instant lemon pudding

1½ tsp. baking soda

1 tsp. baking powder

1 tsp. salt

4 eggs

1¼ cups milk

1 cup vegetable oil

3 Tbsp. lemon juice

1 tsp. lemon extract

2 cups shredded zucchini

2 Tbsp. poppy seeds

2 tsp. grated lemon peel

Directions:

1. In large bowl, combine flour, sugar, pudding mix, baking soda, baking powder and salt.

2. In another bowl, whisk eggs, milk, vegetable oil, lemon juice and lemon extract.

3. Stir in dry ingredients until moistened and fold in zucchini, poppy seeds and lemon peel.

4. Pour into two greased 9”x5” loaf pans.

5. Bake at 350 degrees for 50-55 minutes or until a toothpick comes out clean.

6. Cool for 10 minutes before removing from pans.

Makes two loaves.

Seed-starting is gratifying, frugal, and fun

Each spring finds me in my greenhouse, planting the seeds that eventually will fill my garden and produce the varieties of tomatoes, peppers, corn, squash and more that I like the most. For some, researching and ordering specific seeds, making a batch of seed-starting soil, planting, and raising seedlings is a bit labor-intensive, particularly when they could buy plant and easily stick them in the ground.

I get that.

But there’s much to be said for starting your own seeds. Here’s why I do:

Pepper seedlings in the greenhouse.

Tending the seed

First, it’s a huge sense of accomplishment — to me, anyway — to nurture a plant from its tiny seed all the way through harvest. From planting, watering, setting on heat mats, fussing with lighting, transplanting, hardening off, and finally placing in the ground, each and every plant has been lovingly grown and tended from the very beginning.

I learned a long time ago from a greenhouse grower that healthy roots are the foundation of a healthy plant, and by raising them yourself, from seed, you’ll know that each plant is strong and healthy.

Discovering new varieties

Second, I prefer the diversity offered by growing from seed. Yes, shopping commercial greenhouses is a joy, with the explosion of colors and all the plants and possibilities; however, they generally tend to carry a very limited variety of flowers and vegetables. And you see the same ones year after year.

How would I ever know that the Riesentraube is one of the most prolific, and flavorsome, variety of cherry tomato? Or that the Corno di Toro Giallo Italian pepper is sweet and spicy? Each new variety is like an exciting discovery.

Customize your garden

Photo from Pinterest

Third, you can grow exactly the kind of garden you want. A monochromatic flower garden filled with nothing but white bellflowers, ranunculus, gladiolas, polar bear zinnias, candy tuft, dahlias, vinca, and begonia is breathtaking. Same with blue, using indigo-colored flowers such as columbine, flax, lupine, cornflower, bluebells, allium, and delphinium. The seeds for all these are easy to find.

My gardens contain primarily heirloom plants, because I’m partial to the old varieties and the history behind them. Heirloom plants are not easy to find at most garden shops, so starting seeds is usually my only option.

Save money

Finally, growing seeds is much more economical than buying plants. With just a few packs of seeds, you can start enough plants to fill up a good-sized garden plot. Filling that same-sized garden plot with purchased plants is costly.

And if you’re lucky enough to find heirloom plants for sale, expect to pay more than you do for the more common hybrid plants.

 Besides, I have a very hard time paying what I think is too much for a plant I could easily grow myself.

~~ Ready to start a few seeds? ~~

If you want to try your hand at starting seeds, check out our seed-starting primer to find out how.