
Imagine growing vegetables or flowers that are so unique that none of your neighbors have them. Or creating a specialized flower garden with exactly the kinds of blooms, color, and foliage you want.
Starting your own plants from seeds allows you much more variety — and savings — than if you buy all your plants at your local nursery.
It’s fun, too. My favorite part of gardening is planting seeds, watching for the seedlings to emerge, and nurturing them until they’re ready to put into the ground or a container.
Starting your own seeds is easy. Here’s how:
Seed-starting soil mix
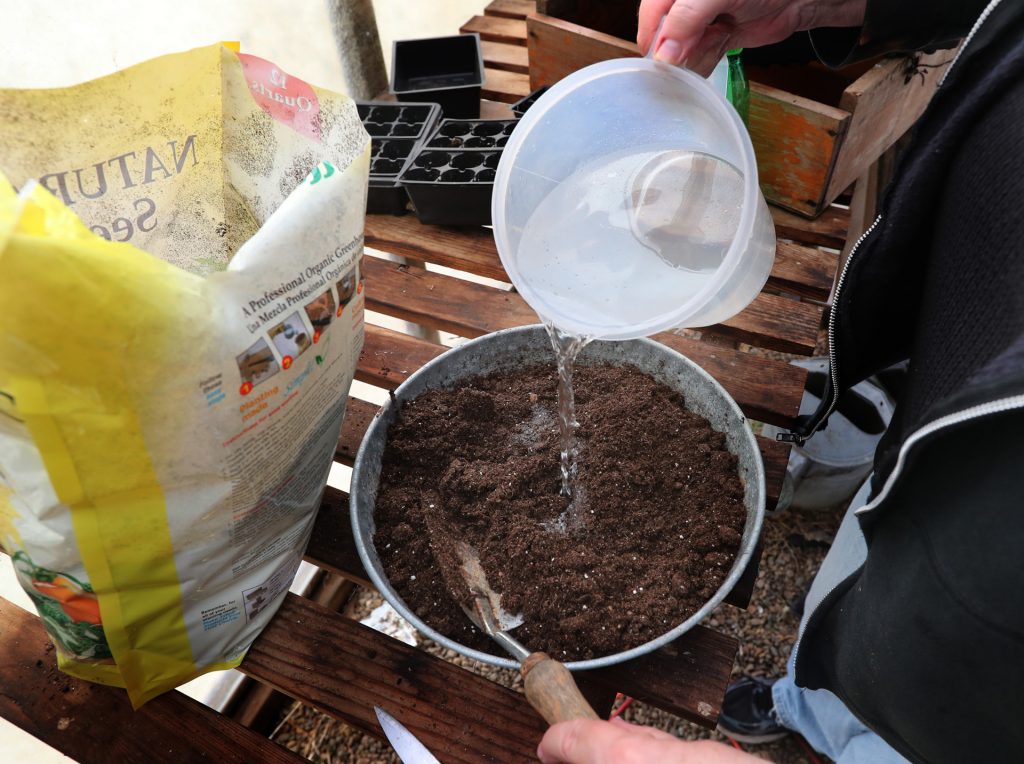
Start with a seed-starting potting mix, which is formulated to create ideal growing conditions for the tiny seed. I usually make my own, but if you’re just getting started, go for a pre-made mix.
Moisten the mix
Pour the seed-starting mix into a container and add water to moisten it. Stir well. Seeds need that moisture to trigger germination. Don’t make it too wet; it’s at the right consistency when you pick up a handful, squeeze it and just a little bit of water drips out.
Fill seed tray
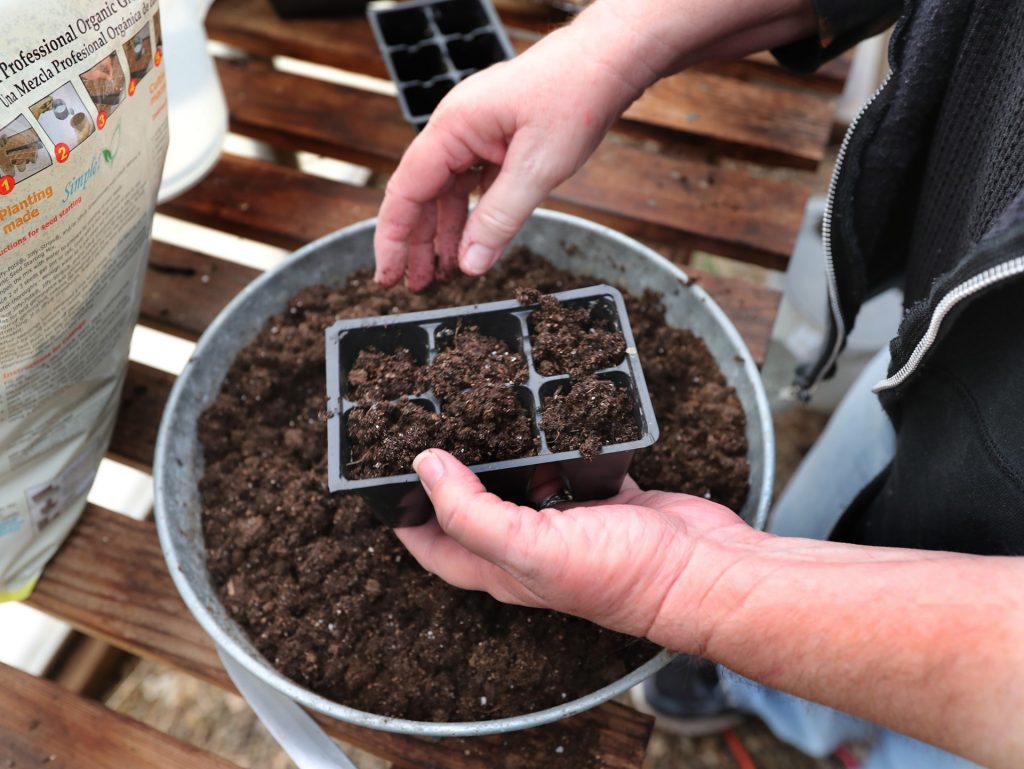
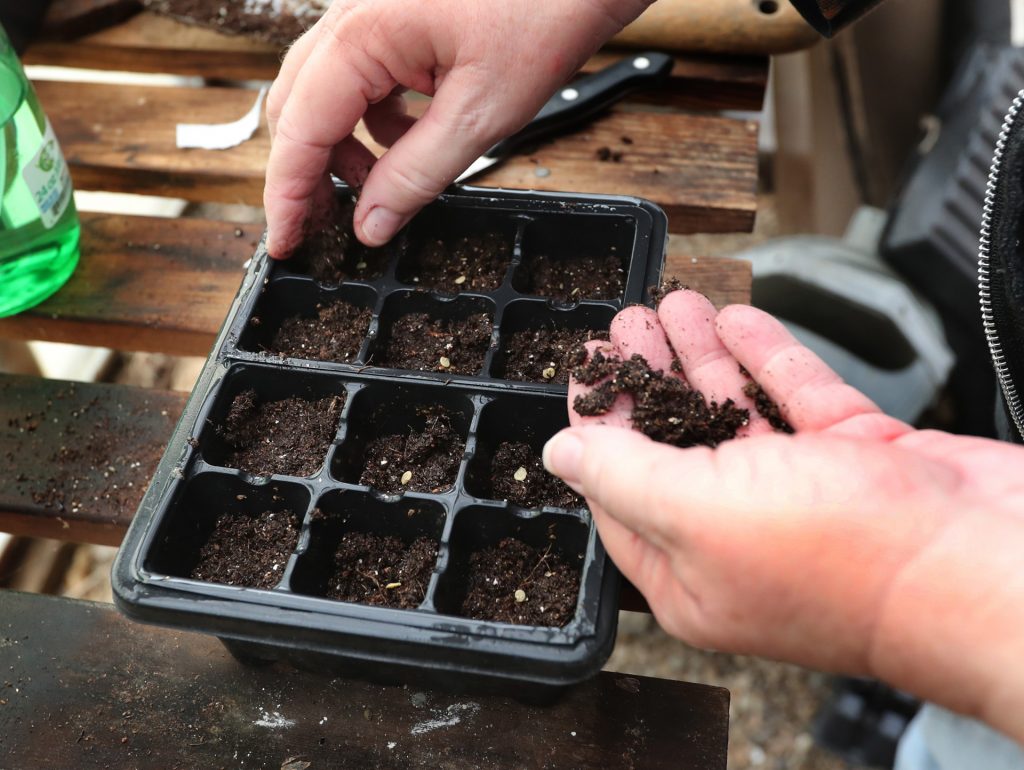
Loosely fill the cells of your seeding tray with the moistened soil. Once it’s full, drop the tray from just a few inches onto your table surface. This removes air pockets and helps settle the soil mix so each cell is about three-fourths full.
Place the seed
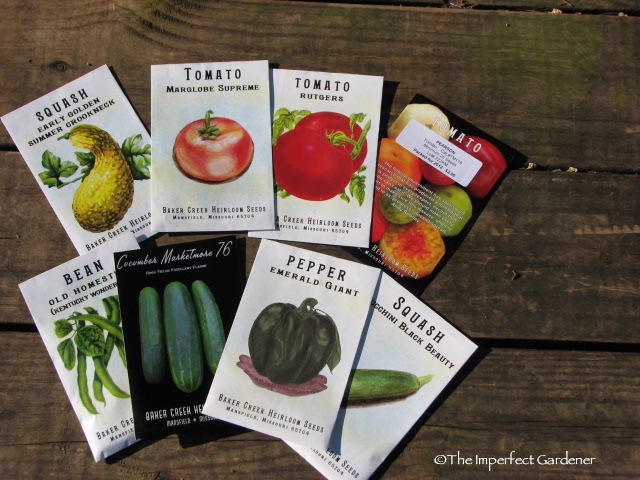
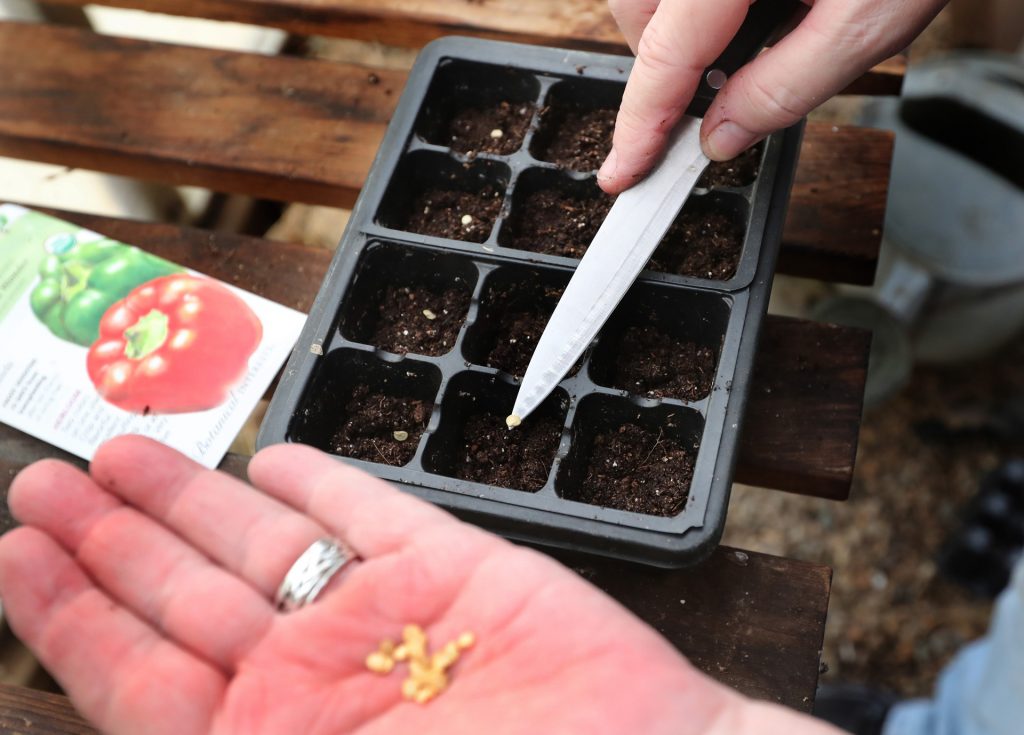
Choose your seeds and pour a few into your hand. I use a sharp knife to easily pick up each tiny seed from my hand to place in each cell.
Germinate with water
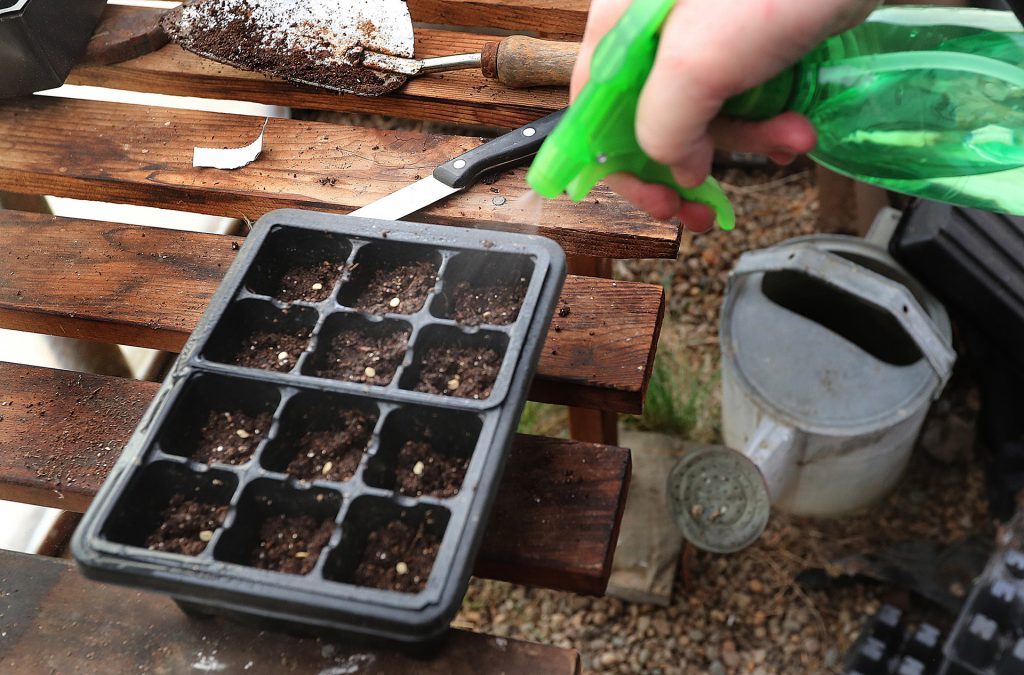
After each cell has a seed, gently spray each one to moisten the seed to further trigger germination. This also helps to settle the seed into the mix, so it has contact with the soil, which is essential for sprouting.
Cover appropriately
Cover each seed according to that particular variety’s recommendation. It’s important to pay attention to this and read the directions on the seed packet. Some particular pepper varieties need light to germinate, so I don’t cover them with the soil mix at all. Other peppers need to be planted anywhere from about 1/8- to ½-inch deep, so it’s good to check planting directions.
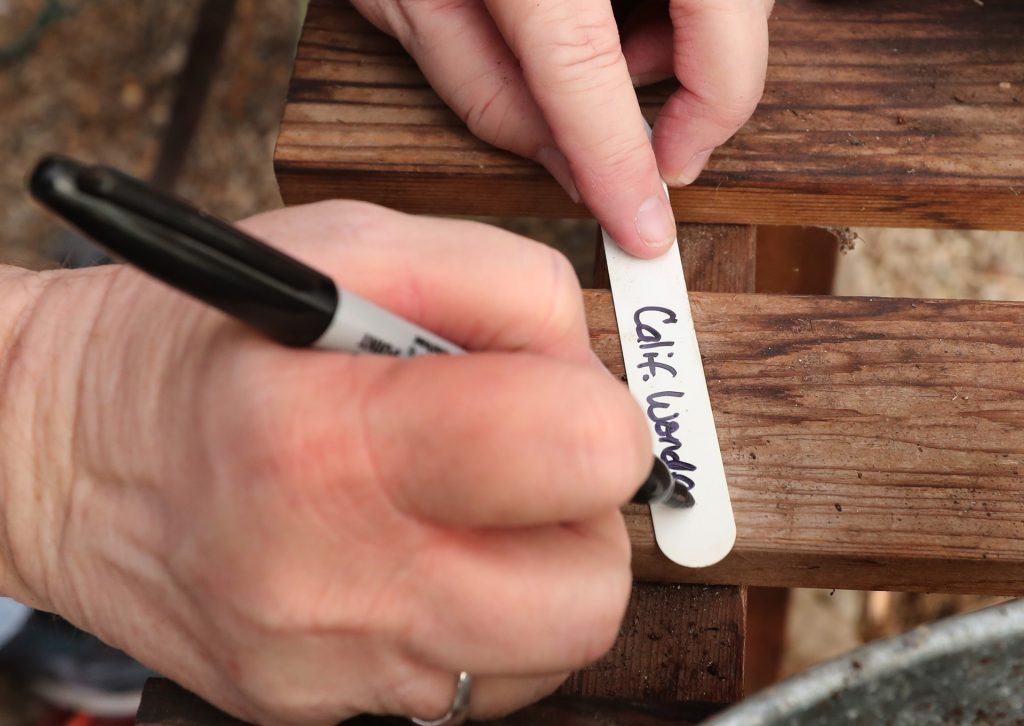
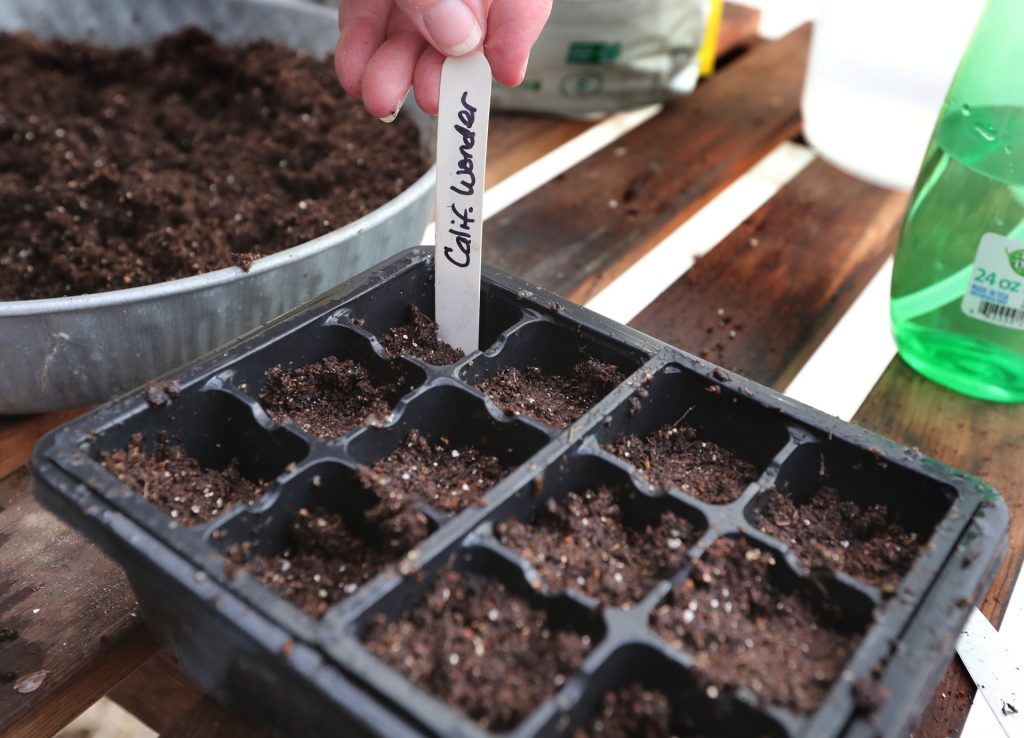
Identify each variety
If you’ve planted several different kinds of seeds, you may forget which is which, so always identify each flat. I use either wooden or plastic markers and write the variety on one side and the planting date on the other, using a heavy black marker.
Keep seeds moist and humid
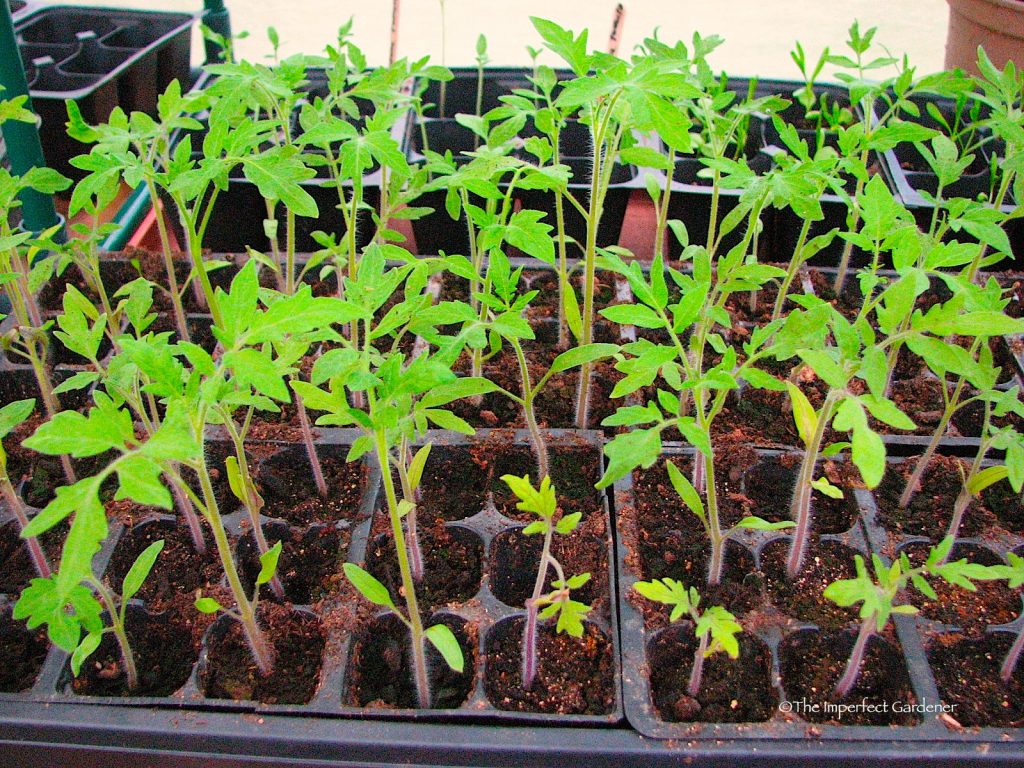
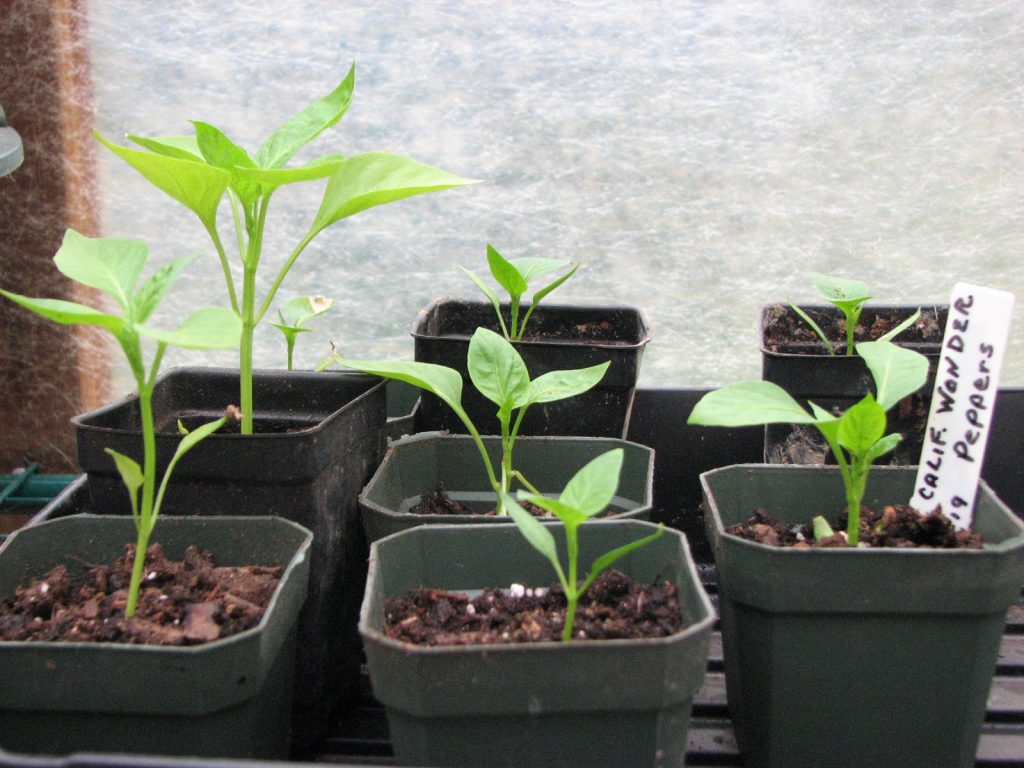
Place the cells in a tray or anything else that will hold water to keep the soil moist. You may want to place a clear plastic lid atop the tray until the seedlings emerge. This helps keep the growing environment humid and the soil moist. Remove it, however, once the seedlings pop through. They grow quickly as they reach for the light, and you won’t want the plastic blocking their growth.
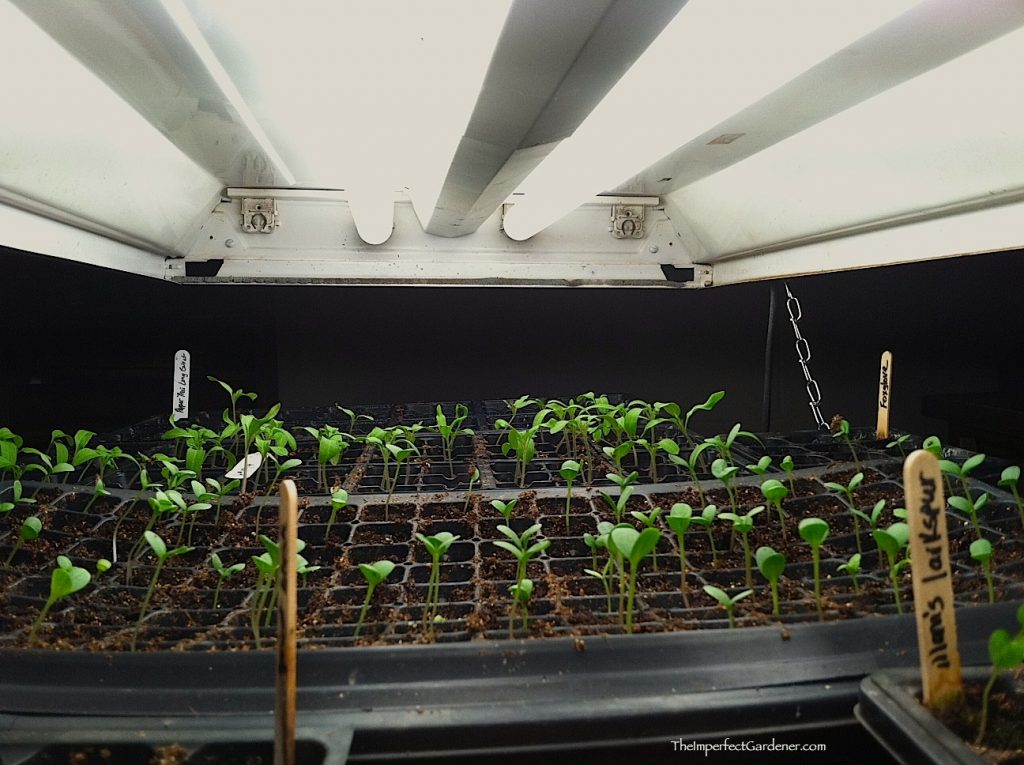
Provide a light source
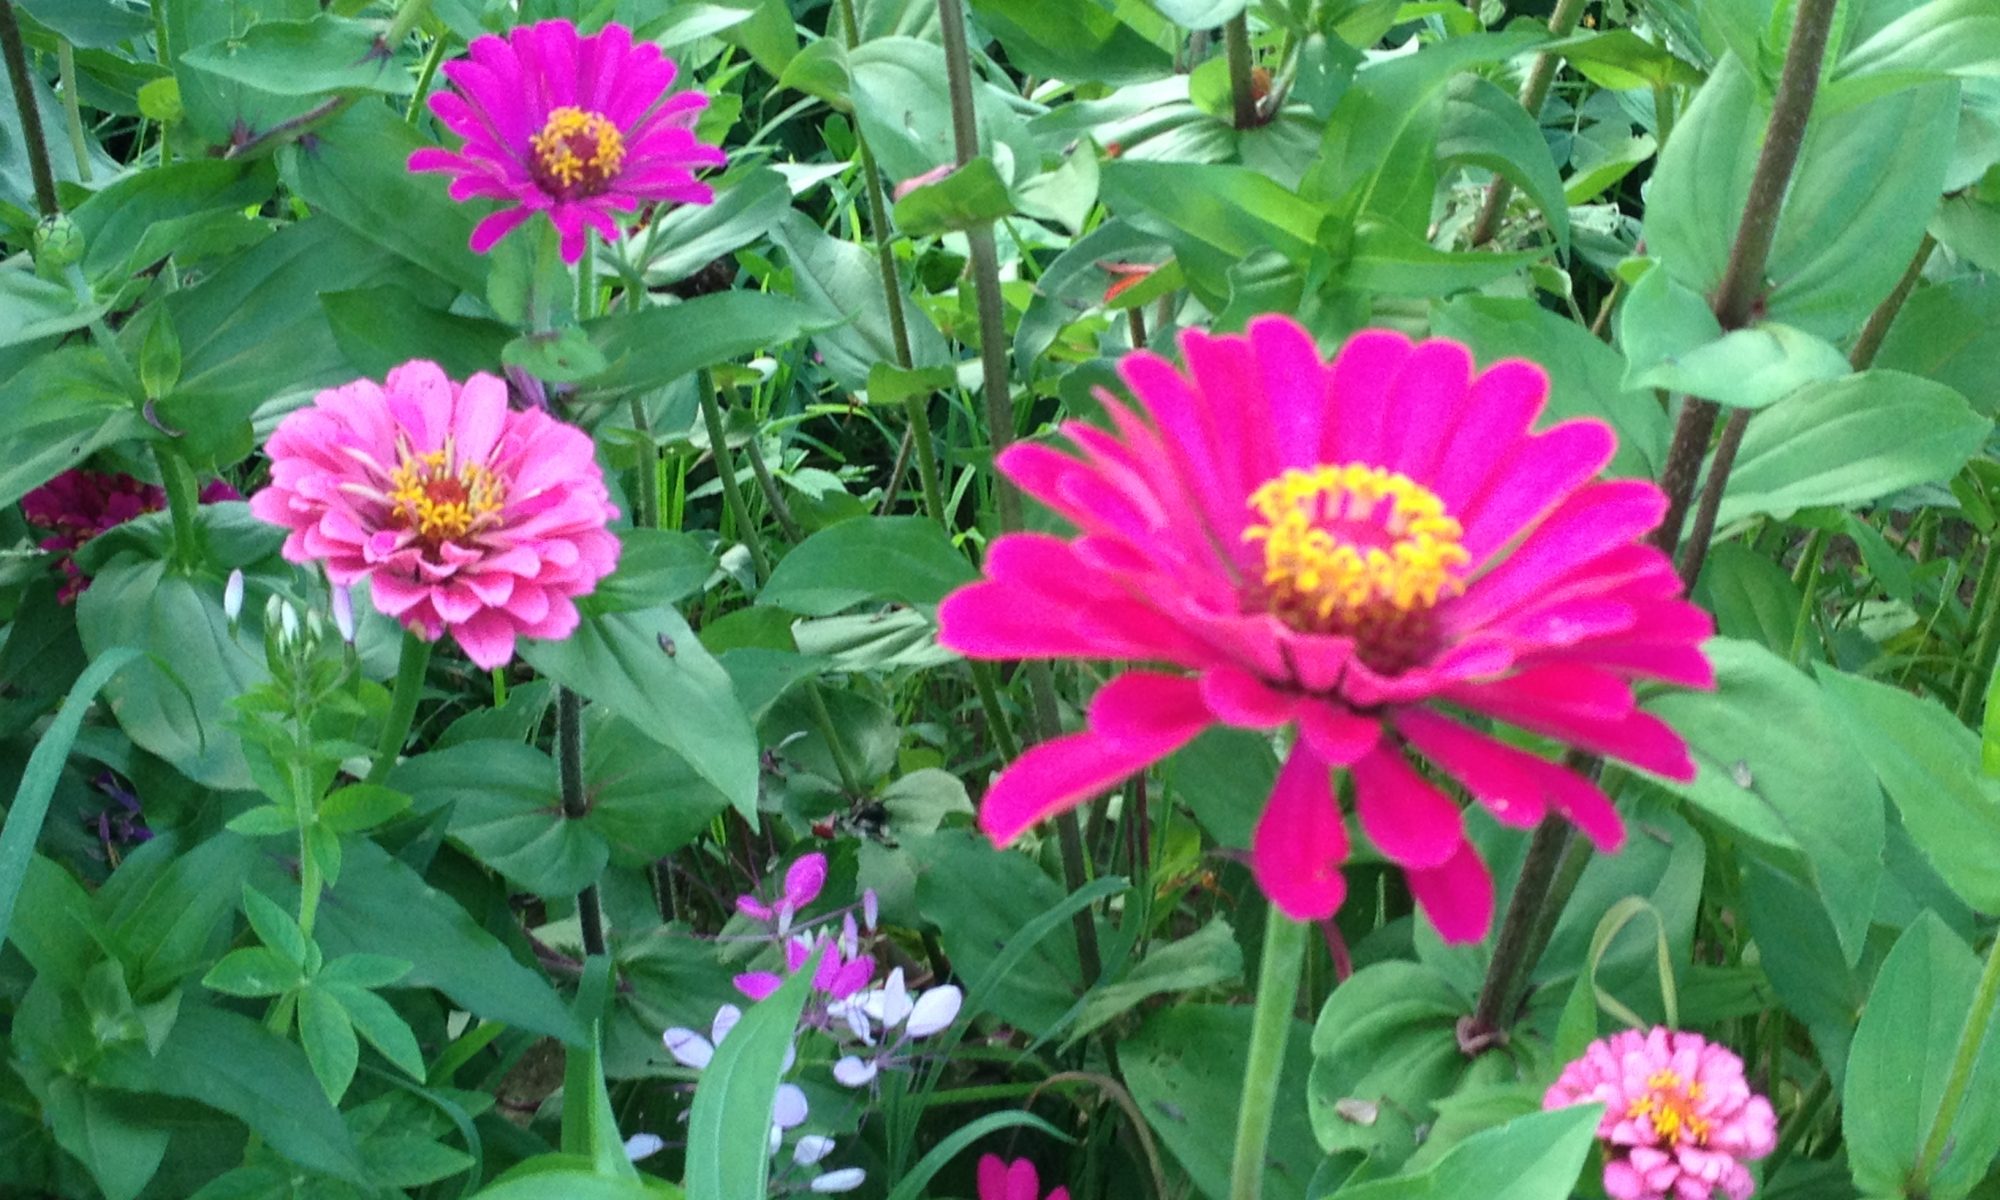
Start off with a variety that sprouts quickly, such as squash, zinnias, or marigolds. Once you successfully start your own seeds, you’ll fill your gardens with plants you never dreamed you could grow.
Once the seeds sprout, you’ll need to provide a strong light source, such as a sunny window and/or a grow-light setup.
Get growing!
Start off with a variety that sprouts quickly, such as squash, zinnias, or marigolds. Once you successfully start your own seeds, you’ll fill your gardens with plants you never dreamed you could grow.