The seed-starting primer

Imagine growing vegetables or flowers that are so unique that none of your neighbors have them. Or creating a specialized flower garden with exactly the kinds of blooms, color, and foliage you want.

            Starting your own plants from seeds allows you much more variety — and savings — than if you buy all your plants at your local nursery.

            It’s fun, too. My favorite part of gardening is planting seeds, watching for the seedlings to emerge, and nurturing them until they’re ready to put into the ground or a container.

            Starting your own seeds is easy. Here’s how:

Seed-starting soil mix

Start with a seed-starting potting mix, which is formulated to create ideal growing conditions for the tiny seed. I usually make my own, but if you’re just getting started, go for a pre-made mix.
Moisten the mix

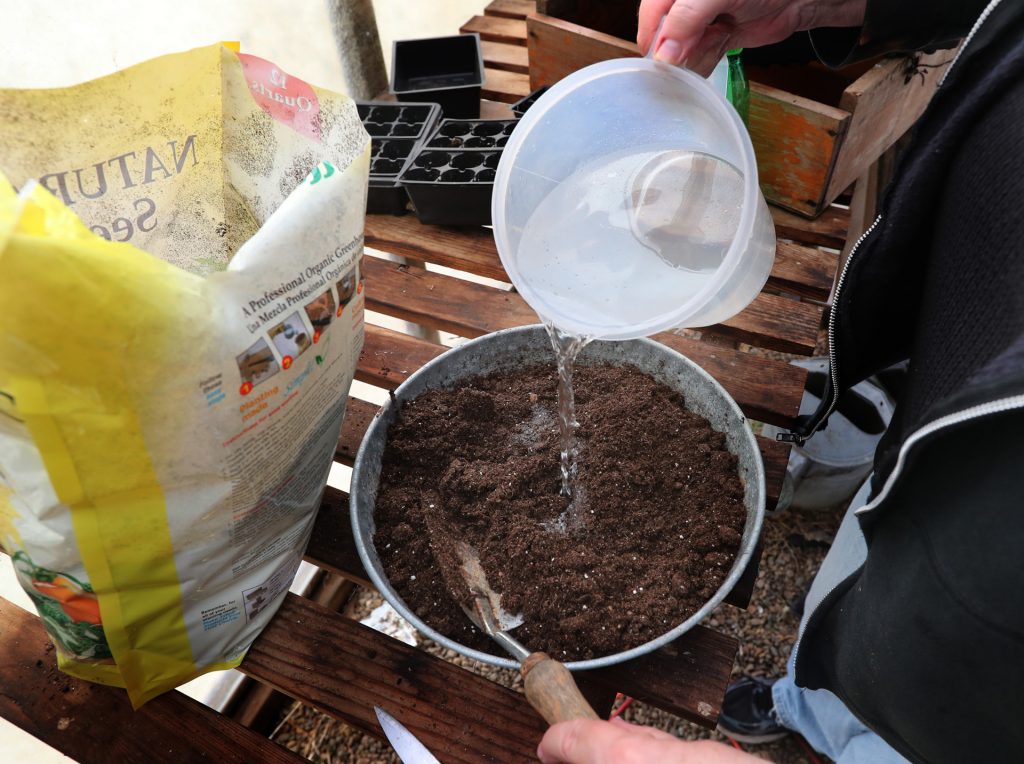
Pour the seed-starting mix into a container and add water to moisten it. Stir well. Seeds need that moisture to trigger germination. Don’t make it too wet; it’s at the right consistency when you pick up a handful, squeeze it and just a little bit of water drips out.
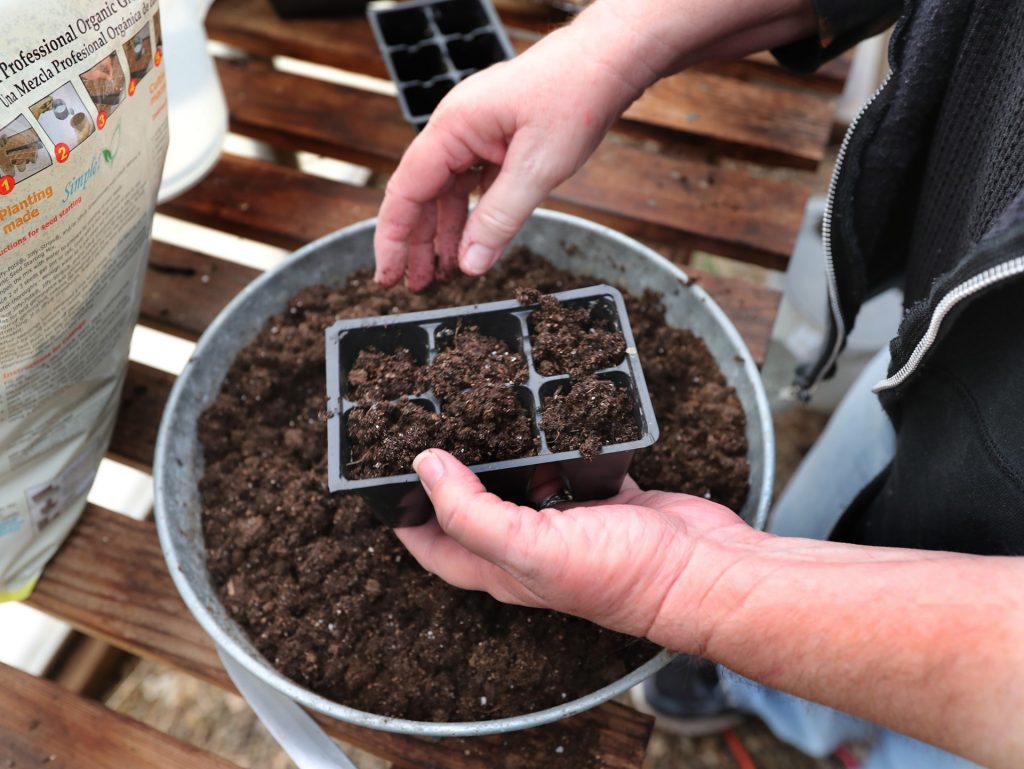
Fill seed tray

Loosely fill the cells of your seeding tray with the moistened soil. Once it’s full, drop the tray from just a few inches onto your table surface. This removes air pockets and helps settle the soil mix so each cell is about three-fourths full.
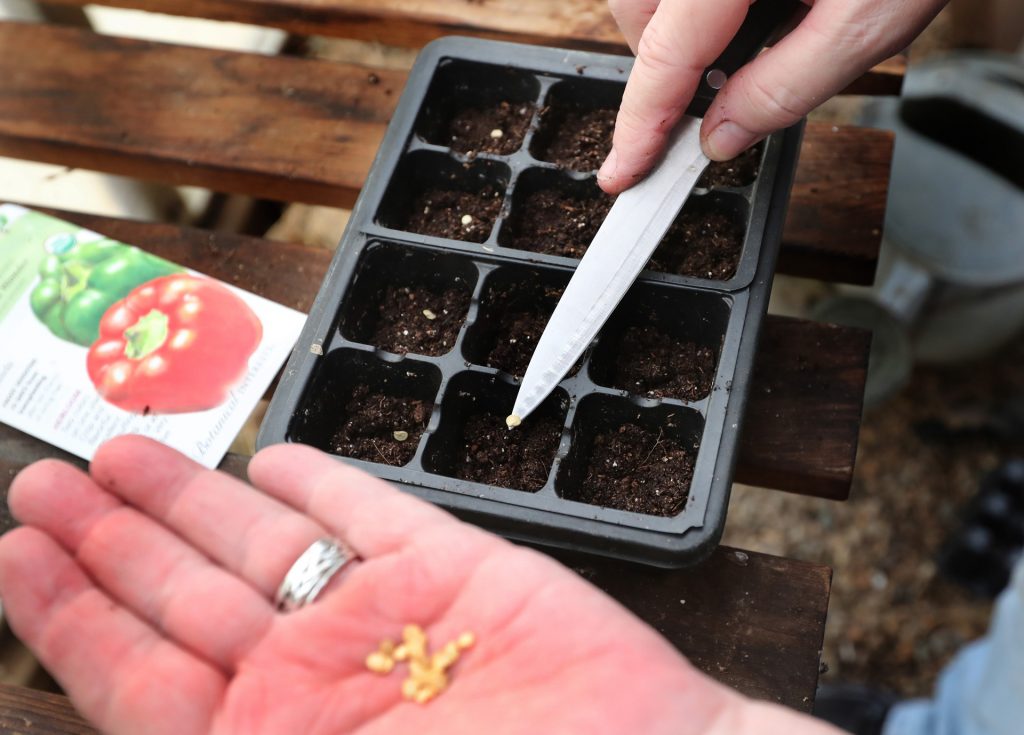
Place the seed

Choose your seeds and pour a few into your hand. I use a sharp knife to easily pick up each tiny seed from my hand to place in each cell.
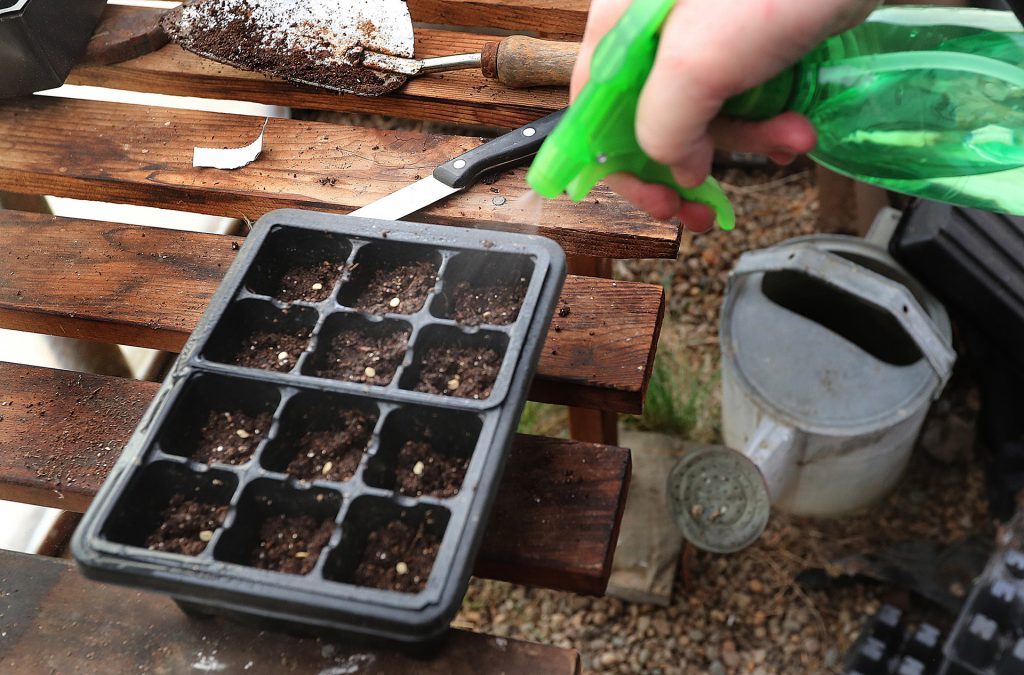
Germinate with water

After each cell has a seed, gently spray each one to moisten the seed to further trigger germination. This also helps to settle the seed into the mix, so it has contact with the soil, which is essential for sprouting.
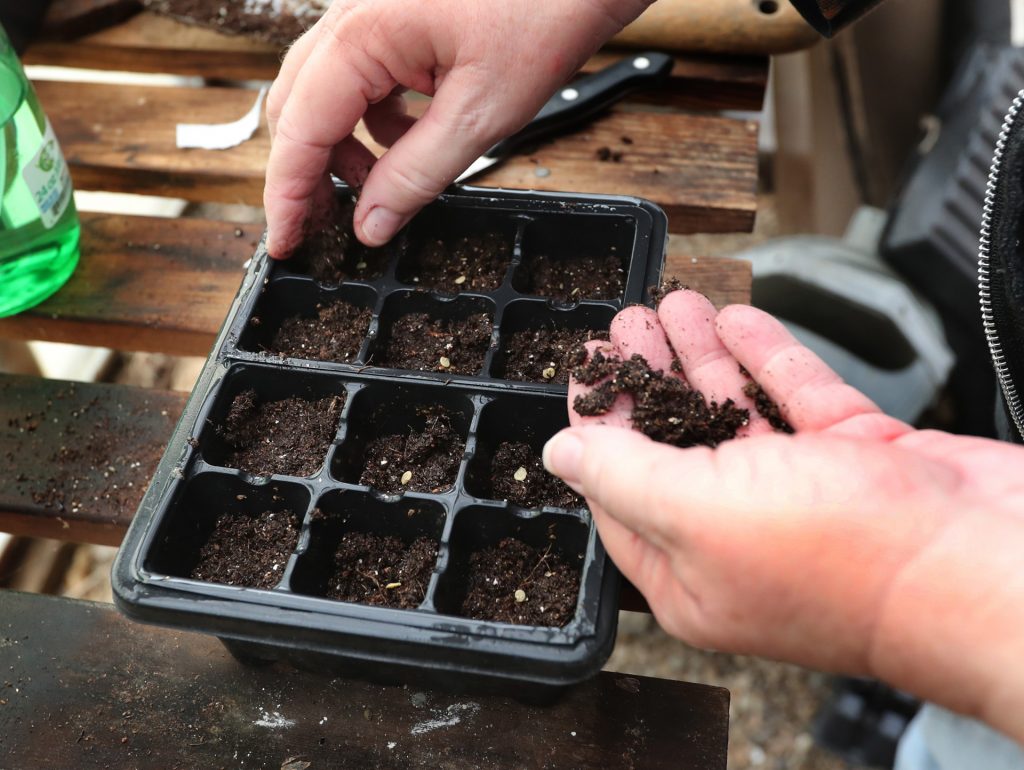
Cover appropriately

Cover each seed according to that particular variety’s recommendation. It’s important to pay attention to this and read the directions on the seed packet. Some particular pepper varieties need light to germinate, so I don’t cover them with the soil mix at all. Other peppers need to be planted anywhere from about 1/8- to ½-inch deep, so it’s good to check planting directions.
Identify each variety

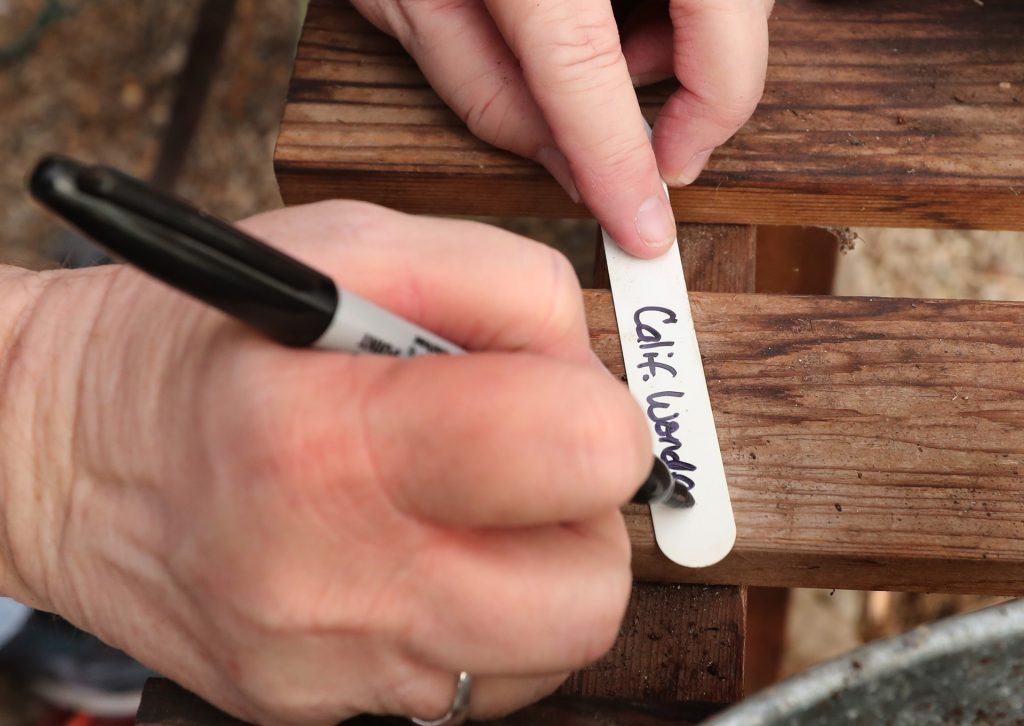
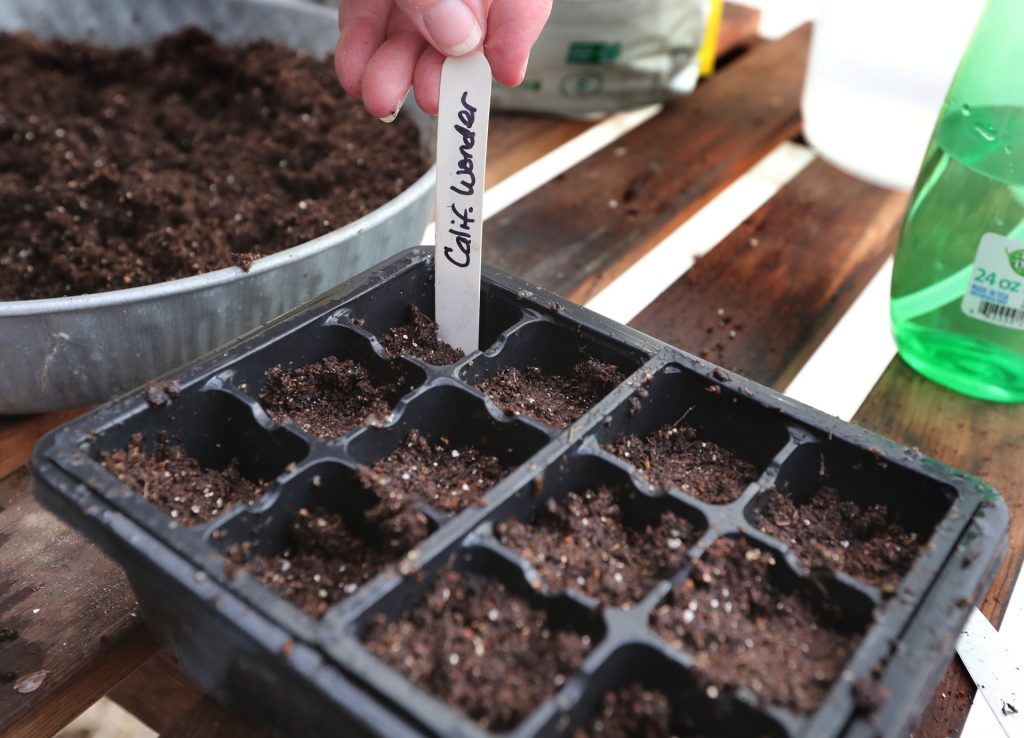
If you’ve planted several different kinds of seeds, you may forget which is which, so always identify each flat. I use either wooden or plastic markers and write the variety on one side and the planting date on the other, using a heavy black marker.

Keep seeds moist and humid

Place the cells in a tray or anything else that will hold water to keep the soil moist. You may want to place a clear plastic lid atop the tray until the seedlings emerge. This helps keep the growing environment humid and the soil moist. Remove it, however, once the seedlings pop through. They grow quickly as they reach for the light, and you won’t want the plastic blocking their growth.

Provide a light source

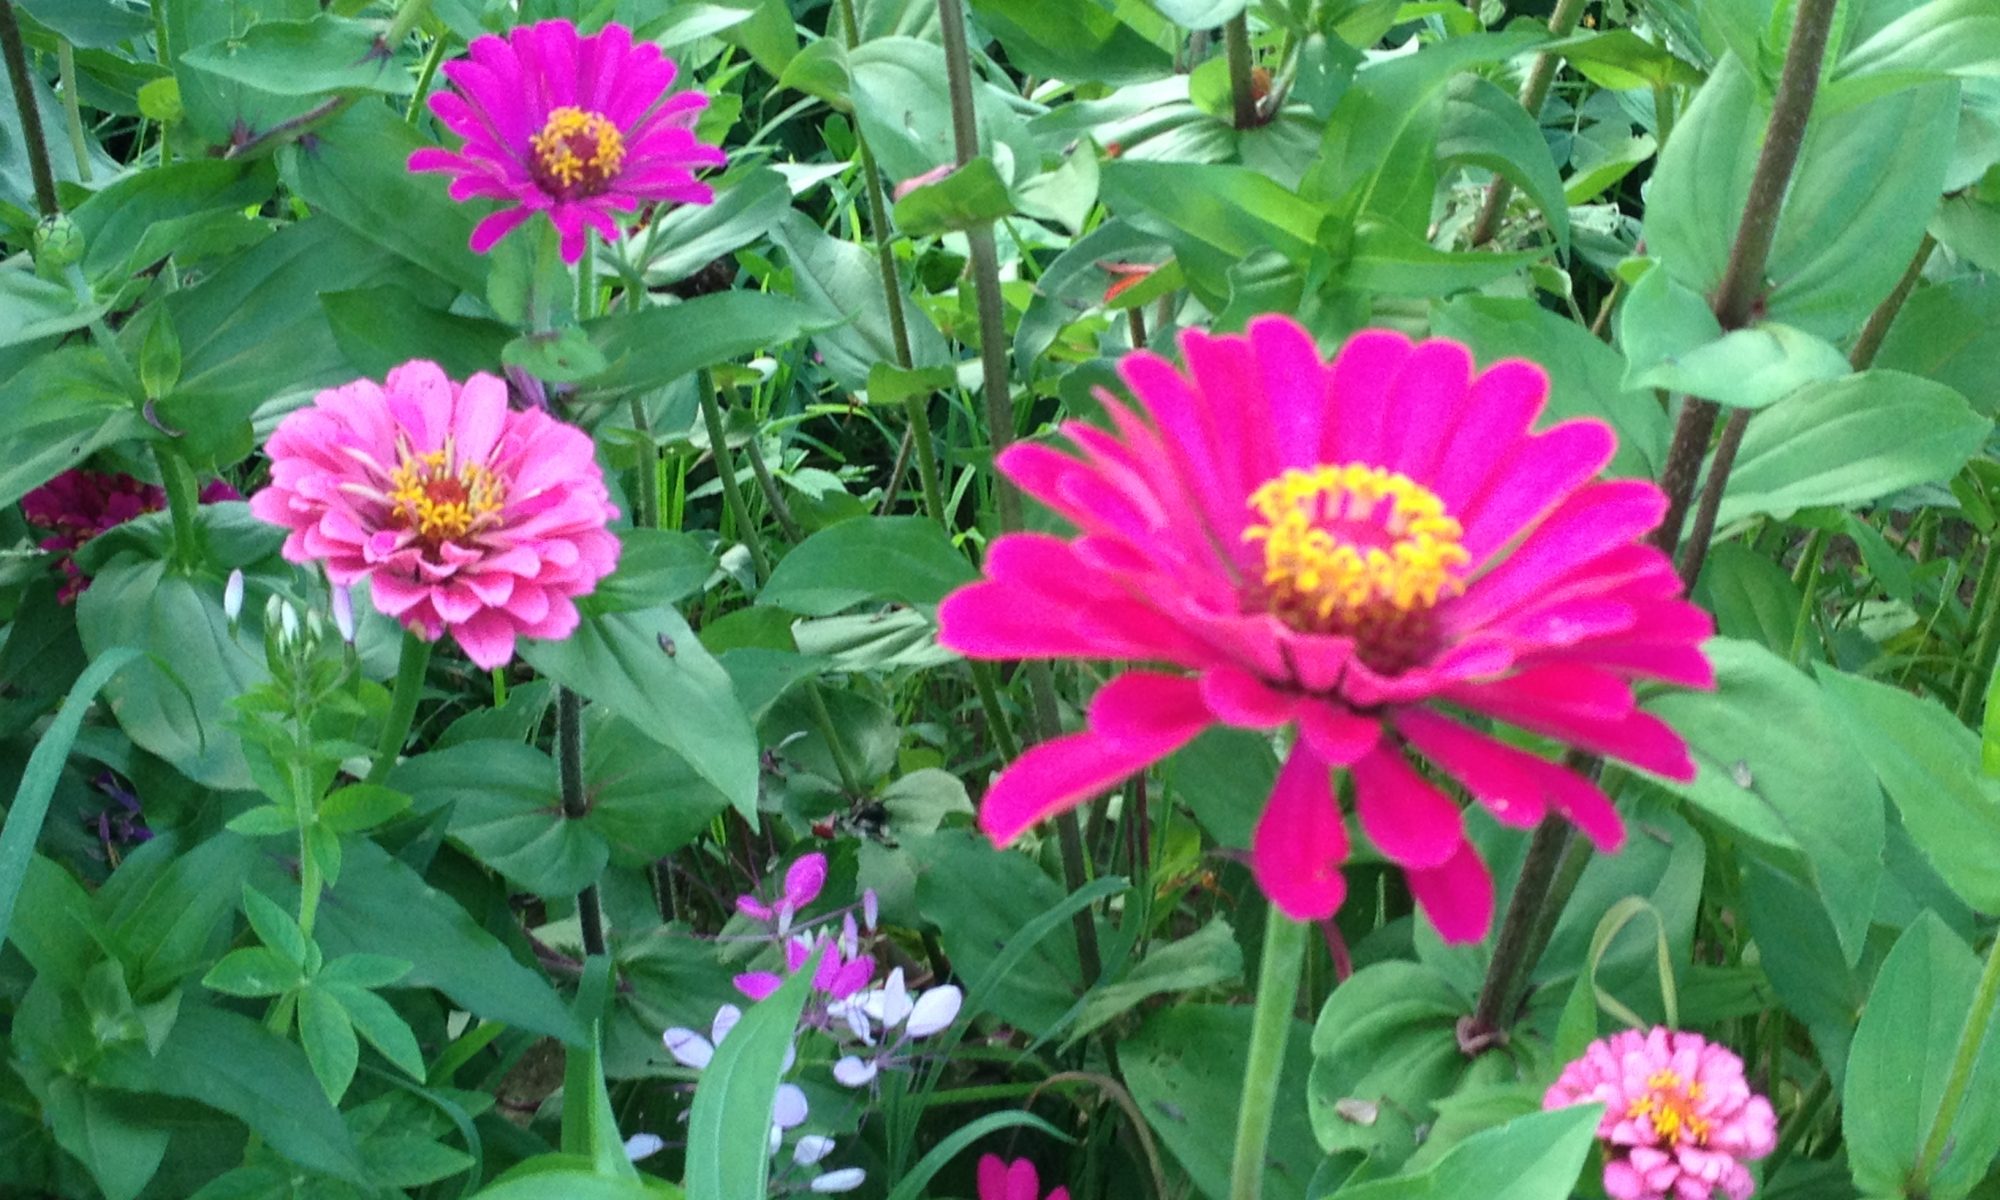
            Start off with a variety that sprouts quickly, such as squash, zinnias, or marigolds. Once you successfully start your own seeds, you’ll fill your gardens with plants you never dreamed you could grow.

           Once the seeds sprout, you’ll need to provide a strong light source, such as a sunny window and/or a grow-light setup.
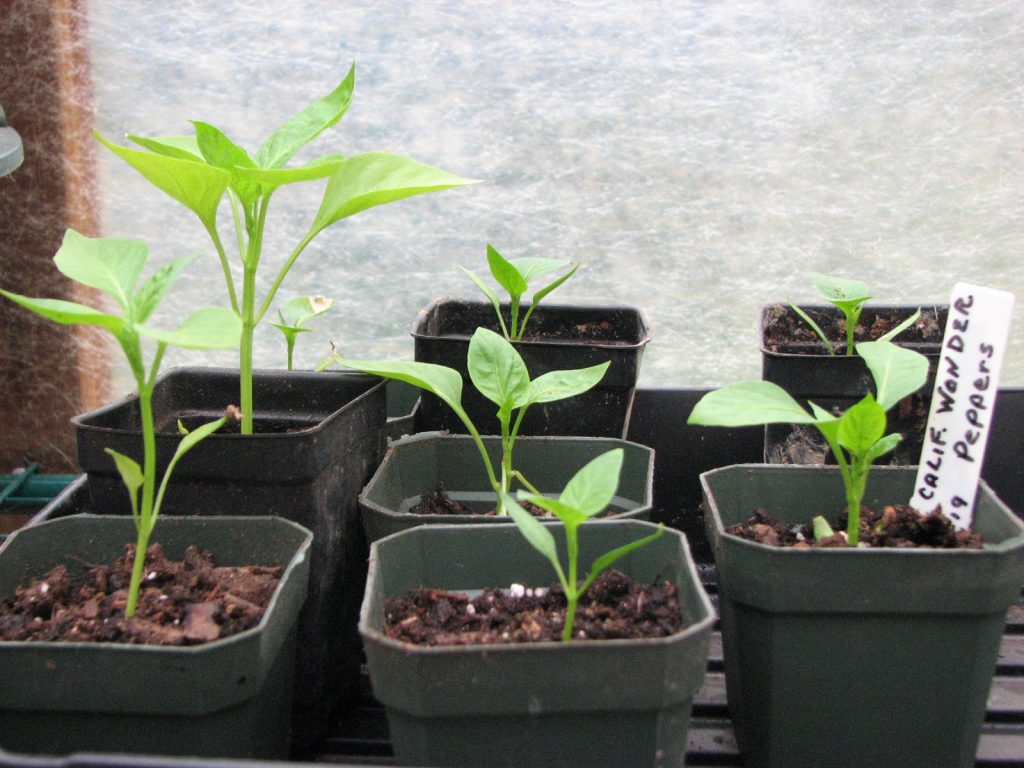
Pepper seedlings in the greenhouse.

Get growing!

            Start off with a variety that sprouts quickly, such as squash, zinnias, or marigolds. Once you successfully start your own seeds, you’ll fill your gardens with plants you never dreamed you could grow.
Make your own grow light setup

Starting seeds indoors a few weeks before it’s time to plant outside makes spring feel a little closer than it actually is, and if you enjoy gardening, it’s really exciting. But for those seedlings to grow healthy and strong, you’re going to need a little more light than a sunny south window can provide. The days still aren’t quite long enough to provide adequate light for seedlings.

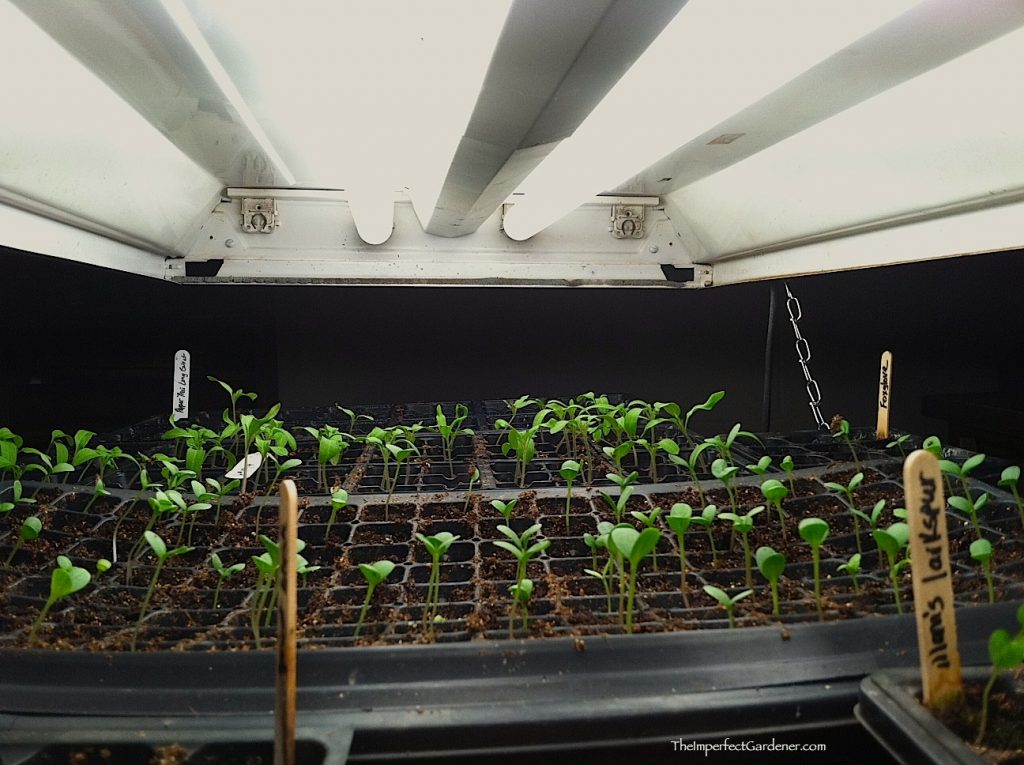
Fluorescent lights for 16-18 hours a day will help your seedlings grow healthy roots and establish leaves.

           That’s why you need a grow-light setup. Many garden catalogs offer beautiful, multi-tiered grow-light systems that would make any room more interesting. Unfortunately, they come with a pretty hefty price tag, too.

My grow-light setup

            With seed-starting, I choose substance over style, and for an economical price, too. I repurposed a slightly worn, slightly rusty shop light fixture from the garage and moved it into the seed-starting corner of my basement. I don’t care how my seed-starting setup looks, just as long as it gets the job done, and at a reasonable cost.

           So here’s my seed-starting, grow-light system: it’s simply a 4-foot shop light suspended by chains from the ceiling, just a couple of inches above my seedlings, which are placed on a 4-foot-long table. The chain suspension allows me to raise the fixture as the seedlings grow taller.

           Specialized grow light bulbs that emit the full spectrum of light are available at most big-box hardware stores. But really, any fluorescent bulb will do the trick because it emits ultraviolet light that plants need to grow. I’ve used both kinds and saw no difference in my seedlings, which makes the regular, more-economical bulb my light of choice.

Choose your own style

            Not all seed-starting systems are the same. You may not want a 4-foot light hanging from your ceiling. I’ve also used much smaller fluorescent lights both in my house and greenhouse for smaller amounts of seeds.

           Try setting up your own economical grow-light system that works best for your own circumstances. The investment is minimal, and you’ll be rewarded with healthy, well-tended plants ready to go in the ground.


Tips

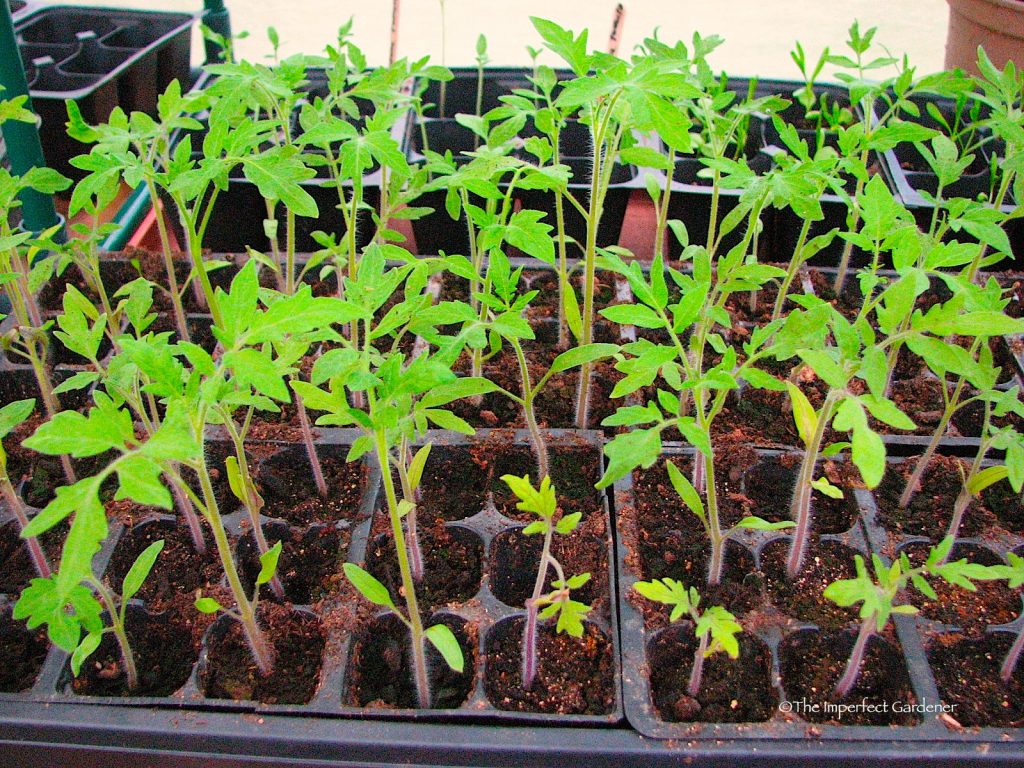
• Position the light so it’s about 2 inches above your seedlings and raise it as they grow. Positioning the light too far above the plants weakens its effectiveness, causing the seedlings to stretch toward the light and become leggy and weak-stemmed. I, unfortunately, know this first-hand. Fluorescent lights are not hot, so it won’t burn your tiny plants.

• Keep the lights on 16-18 hours per day to allow the seedlings to grow healthy roots and establish primary leaves.

• Avoid leaving the lights on 24 hours a day. A light-darkness balance each day is essential to plant health.

How large should your vegetable garden be?

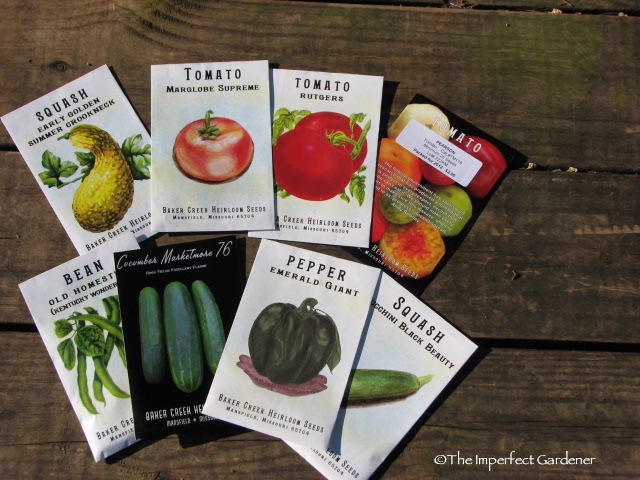
It’s easy to get carried away when you’re planning a garden. Seed-packet displays filled with images of perfect vegetables and bright flowers are a definite magnet, as are colorful pages of seed catalogs. It’s easy to keep selecting more and more as you imagine creating the perfect garden. Then, when it comes time to plant all those seeds, well, you don’t. I’m embarrassed to admit to the piles of long-expired seed packets that I accumulated before I wised up and learned to buy only what I expect to plant.

Planning your first vegetable garden

If you’re just starting out, or haven’t gardened in awhile, your garden should measure about 10×18 feet with eight to 10 different vegetable varieties. This size will easily feed a family of four to six. This is simply a guideline, however. Adjust your garden spot to fit your particular situation: family size, available space, amount of time you can spend in it, and the amount of work you’re willing to do.

I always grow plenty of tomato plants.

Keep your garden manageable

Keep in mind that a too-large garden can easily overwhelm you and become a discouraging chore, and that’s when you’re more likely to give up on it. Instead, keep it manageable so you don’t have to spend too much time and effort on it. You’ll be amazed at your success — and the good food you put on your table.

Which garden vegetables should you grow?

Simply put, plant the vegetables that your family likes.

If your family eats a lot of salad, then plant lettuce, cucumbers, carrots, broccoli, cauliflower, radishes, and, of course, tomatoes.

Think about meals. Do you stir-fry? Grow bell peppers, onions, peas, and broccoli. Does your family enjoy Mexican food? Consider various hot peppers. Do you create main dishes from vegetables? Potatoes, squash, eggplant, and spinach might be options.

       In planning your garden vegetables, consider adding a variety or two that your household considers tolerable, but not great. You may find that homegrown freshness improves the taste, and that vegetable just may turn out to be a family favorite.

       Plant an unfamiliar vegetable, just for kicks. If it’s not to your taste, give the harvest to neighbors or your local food bank.